Composting is a DIY method for creating eco-friendly nutrients by recycling food and yard waste that would otherwise end up in a landfill, and it goes great with organic fertilizers like Geoflora Nutrients! While most gardeners are aware of the benefits of composting, it can be intimidating to consider setting up a compost system of your own. Thankfully, it’s not a difficult task.
Read on to discover how to set up composting at home!
What is Composting?
So what is composting anyway? It’s a great process that uses kitchen and yard waste to feed your plants a healthy dose of nutrients. Basically, gardeners take kitchen scraps and yard clippings and pile them up until they decompose into usable nutrients! It’s excellent for adding to gardens and houseplants to keep them thriving and happy.
What Goes In
Composting utilizes high nitrogen “greens,” carbon-rich “browns,” oxygen, moisture, and time to turn waste and scraps into valuable nutrient-rich additions to your grow. You’ll need the right mix of ingredients to compost well. You can always add a dash of Geoflora Nutrients to help establish a healthy colony of beneficial bacteria for your grow!
Greens
The nitrogen requirement of composting comes from what gardeners call “greens.” Components like green grass clippings, fresh-cut leaves, coffee grounds, food scraps, and kitchen waste all contribute to this protein-rich portion of your compost pile. Greens are essential for making enzymes and supporting the growth and reproduction of composting microbes.
Browns
Compost bins also require carbon-rich materials called “browns.” These are made up of dry branches, fallen leaves, wood chips, straw, newspaper, and sawdust. Brown compost components are essential for adding carbohydrates and energy for the microbes to feed on. As a general rule, for every one part of green materials, your compost bin should have at least two parts of brown.
Oxygen
Microbes require ample oxygen to decompose organic matter into usable compost. One of the best ways to ensure your pile or bin is getting enough oxygen is to turn it frequently, allowing the components to mix and have access to air.
Moisture
Composting can’t happen without the right amount of water to ensure the microbes stay happy and healthy. If your pile is uncovered, sometimes the rain and dew in your local environment will do the job for you, but if you have a covered bin or find yourself in dry months, it’s a good idea to lightly water your compost.
Time
The final ingredient your compost pile needs to provide you with excellent nutrients is time. Cold composting can take a year or more, while hot composting can take a few months. Check your piles frequently to ensure that ideal conditions are being met and give your compost the time it needs to turn out just right.
Step By Step
-
Save Scraps: The container you save food waste in before it goes in the pile has to fit into your kitchen, block odor, and keep out pests, so be sure to choose accordingly. And don’t forget to keep these accessible components to add to your compost pile!
-
Contain your Pile: The method of composting you choose will play a large part in deciding which bin or pile style to go with for your compost, so be sure to take into consideration not only how much compost you want to produce but also how you plan to process it. You can always set up two piles or bins, so when one is almost ready, you can still add material to the other!
-
Storage Station: Storage for your tools and even extra brown matter is a great thing to have handy. Just be sure to keep them within close range of your bin.
-
Pile it Up: Layer browns and greens in a ratio of at least 2:1 to keep your compost developing properly.
-
Mix It: Once a week or so, turn or mix your compost pile to ensure that all parts have access to air and moisture.
-
Just Add Water: Add water as needed. Use the hand squeeze test: When a chunk of compost is squeezed in your fist, it should feel like a wrung-out sponge, damp but not dripping.
-
Let it Sit: Take a sabbatical or hang out in your garden while you wait for those tiny microbes to do their work.
-
Amend It: Mix your nutrient-rich compost and some Geoflora Nutrients into your soil to set up your plants with the nutrients they need to thrive!
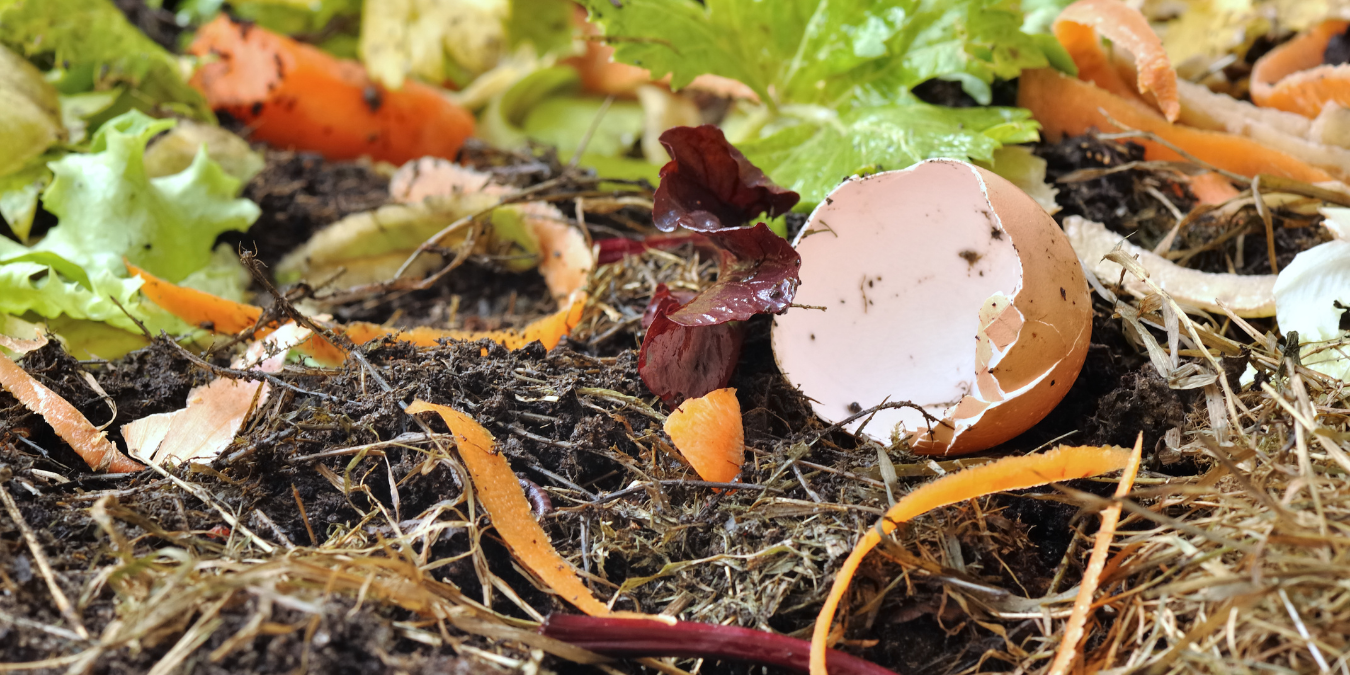
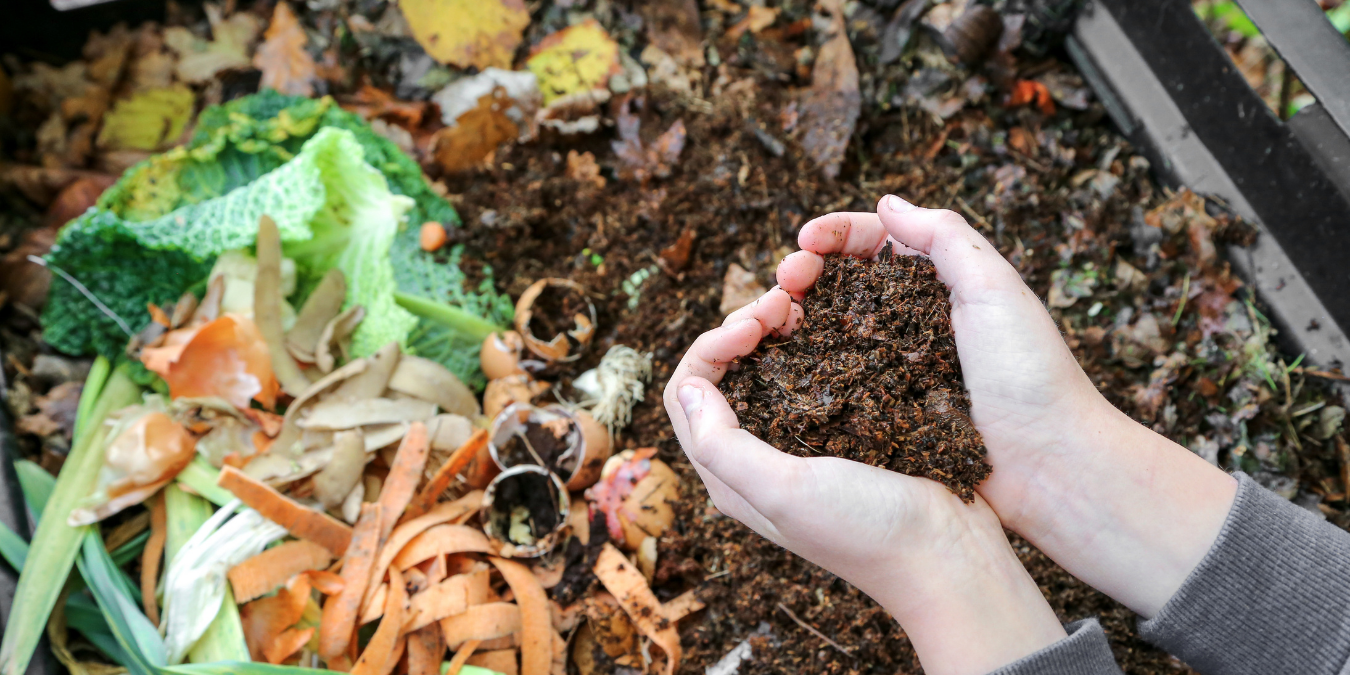
What Comes Out
You’ll know your compost is ready when it’s dark, crumbly, and smells earthy. There should be no remaining scraps of food or raw material left in the pile.
You can test your compost to be sure by placing a handful in a ziplock bag and sealing it without air. After a few days, open it and smell the compost. If it smells like ammonia, it needs more time!
Successful Composting is Worth the Wait
It takes some time, but if you want to recycle and reuse some of your food and yard waste, supply your garden with extra nutrients, and reduce your carbon footprint, composting is the way to go. It takes some patience, but this is an easy hobby that your plants will appreciate.
Check out our blog for more organic gardening tips!